3D measurement services
Does your project involve high volumes, from simple shapes to complex parts, in various sizes?
Checking the dimensions of the parts after processing is crucial for the success of the project. There are limitations with conventional measuring instruments, and errors often occur. Faulty analysis reports are the result, wasted time and effort.
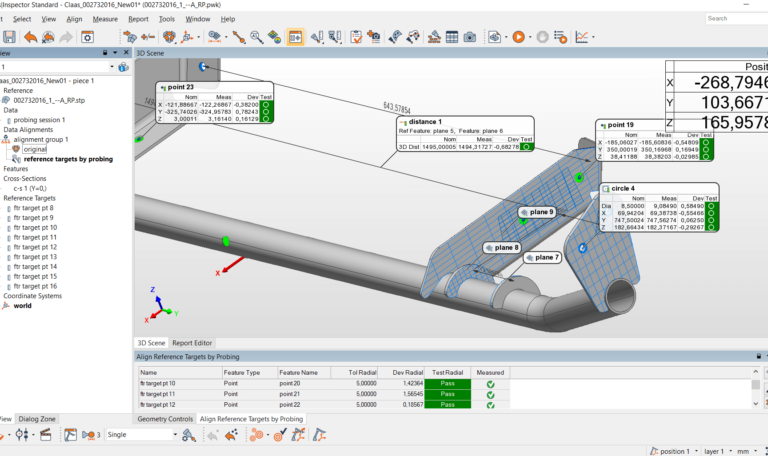
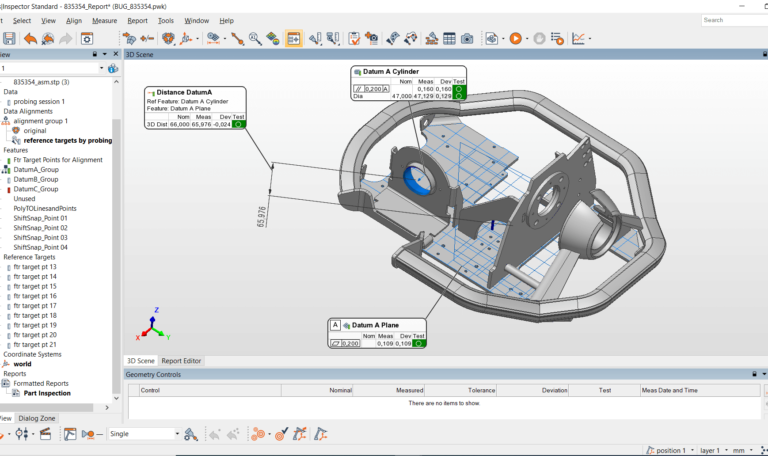
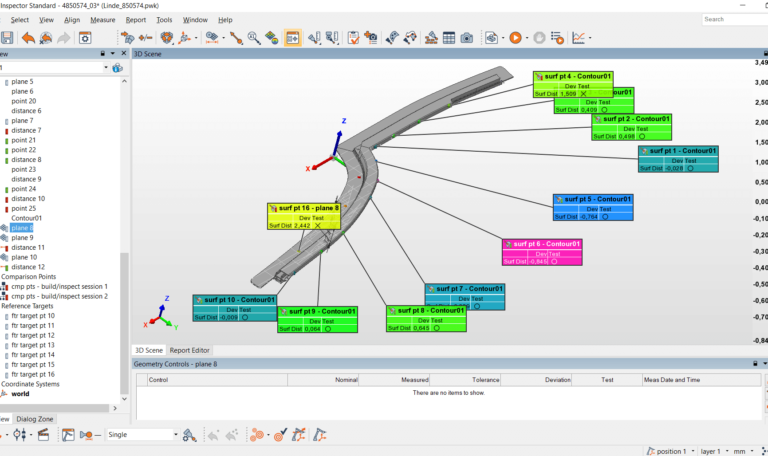
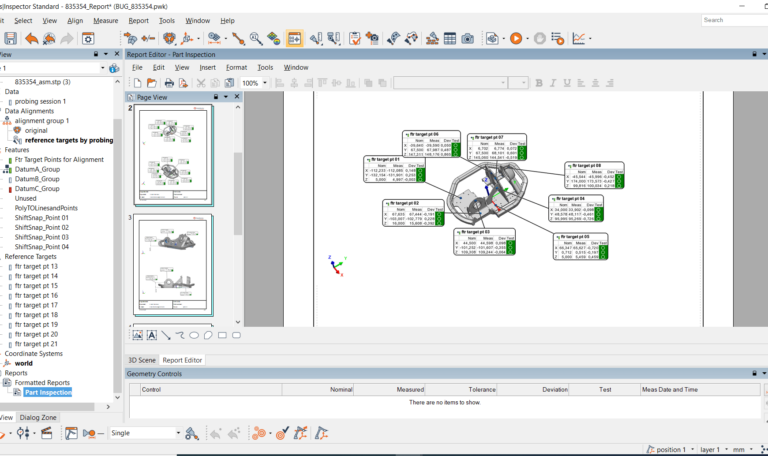
It’s time for a new approach: three-dimensional measurement of parts. With this improvement in quality control through 3D measurements, errors can be avoided even for 3D parts with complex shapes. The method is non-invasive, so even finished and painted parts can be measured without damage. The measurement is performed in a single step and results in a report declaring the batch either valid or non-compliant. Without errors!
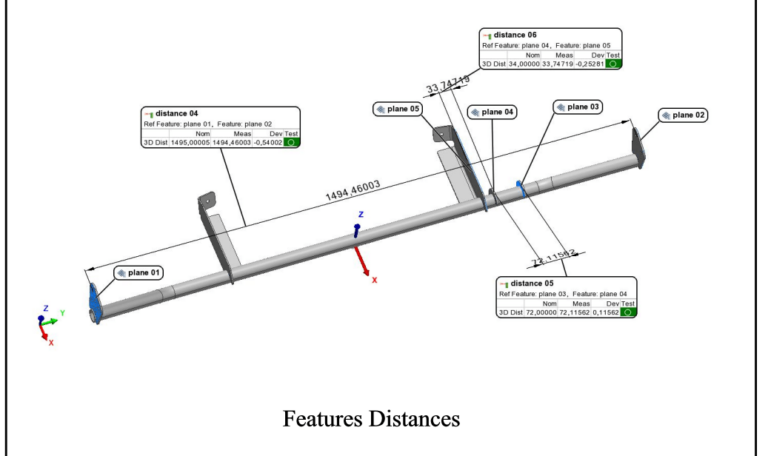
How? Quite simple, the part designed in 3D CAD format are compared with the real measured data of the finished part. This enables rapid intervention in production to correct any problems that arise – a technique also known as reverse engineering.
To achieve this, we use a FARO measuring arm and software to perform these 3D measurements.
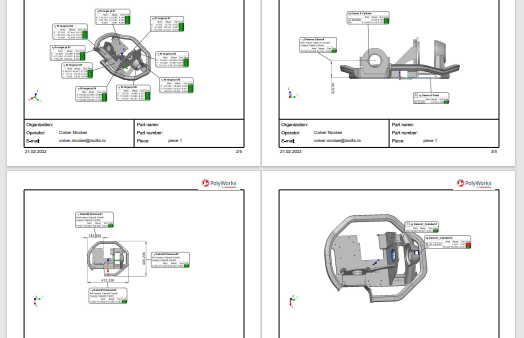
Do you need validation of manufactured parts? ISRs needed (initial sample reports)? With 3D measurement and validation, you can easily confirm to both your customer and production that the parts meet the requirements.
